 |
 |
MLPI-MotionLogicProgrammingInterface(mlpi4Java)
1.26.2
|
This manual shows how to setup a Java project on Eclipse running on Microsoft Windows which uses the MLPI to communicate with the target device. Please note, that it is not possible to run your Java program on the device target, as there is no Java runtime available. If you want to program an application which is also running on your target device, then you have to stick to the mlpiCore Toolbox for C/C++ and the Workbench OEM which is also Eclipse-based.
To start programming in Java, you need a working Java environment. By default, this includes:
The Java downloads can be found at oracle and are courtesy of oracle: http://www.oracle.com/technetwork/java/javase/downloads/index.html. Please install also the 32-bit version, because the MLPI currently only supports 32-bit applications. Of course, it is possible to run your application also on 64-bit operating systems. Eclipse can be downloaded at http://www.eclipse.org/downloads/. You can choose between 32bit and 64bit version. For this tutorial, "Eclipse for Java Developers - Juno(4.2)" has been used. But older versions of Eclipse(3.6) have also been successfully tested.
Start by creating a new Java project in your workspace:
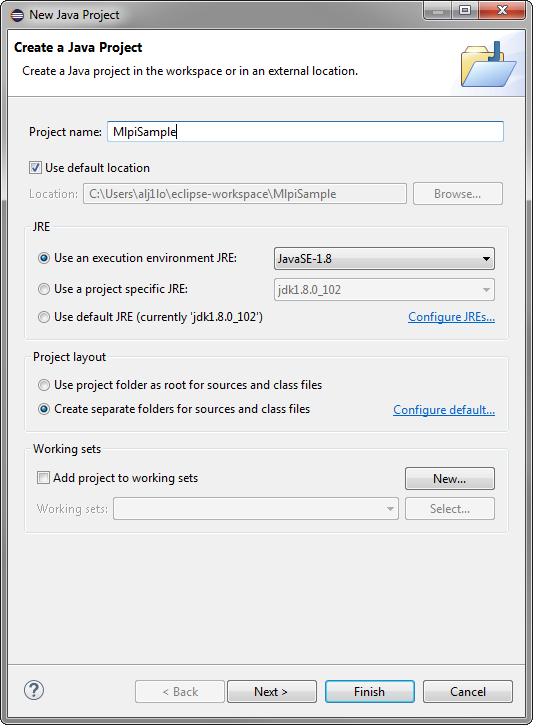
Please make sure that you choose the 32-bit version under "Use an execution environment JRE". By clicking Configure JRE, you can see further details:
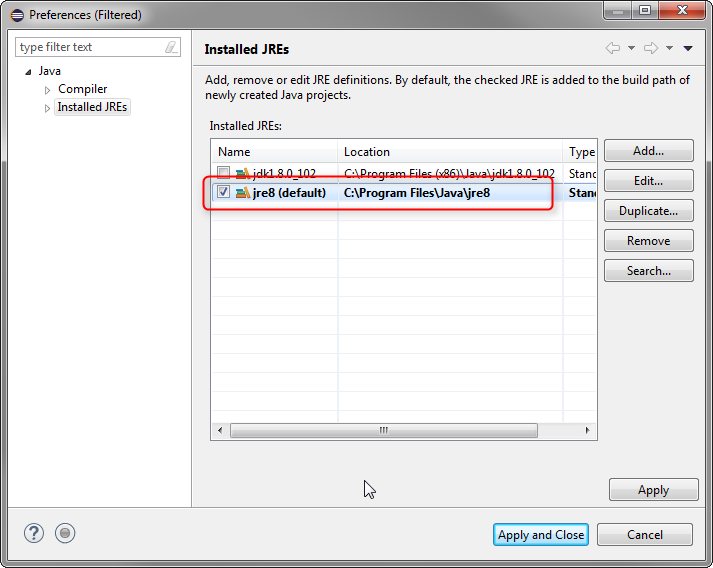
If a 32-bit edition of the JRE is not listed, then make sure you already installed the JRE as listed above and try to add it to the list manually, by clicking the Search... or Add... button. Java version 8 is successfully supported by the MLPI.
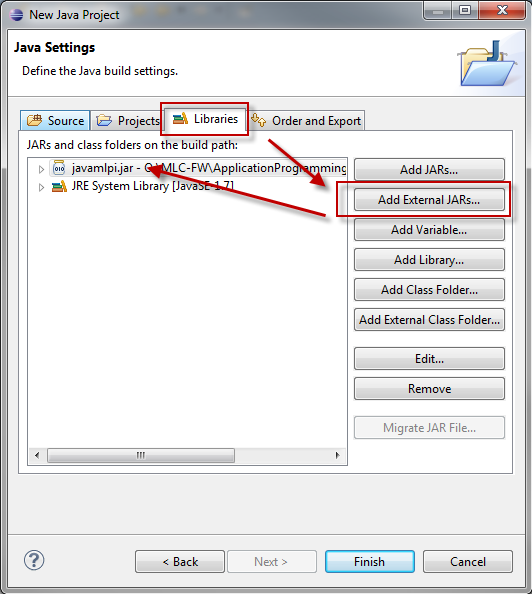
To use the MLPI with Java, you need to add the javamlpi.jar package which can be found in the folder mlpi4Java/lib/... . Add the library as shown in the screenshots below. If you want to add the MLPI to an existing project, then you can do this by right-clicking the project root and selecting Properties. In the list box under Java Build path, you can find the Libraries tab where you can add the javamlpi.jar. It is always recommended to add the library "as a link".
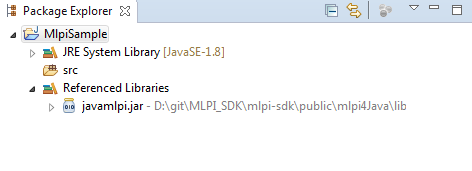
The library is shown under Referenced Libraries in the Package Explorer.
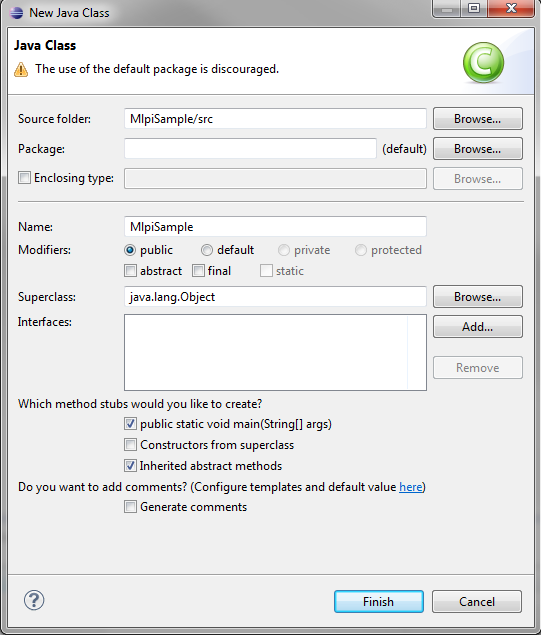
Now, lets add a new class to your project under the src folder by using File->New->Class.
Insert the following MLPI code to connect to a device and read some data. Replace the IP with the IP address of your device.
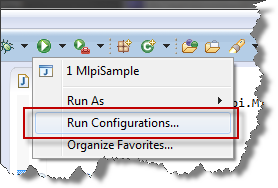
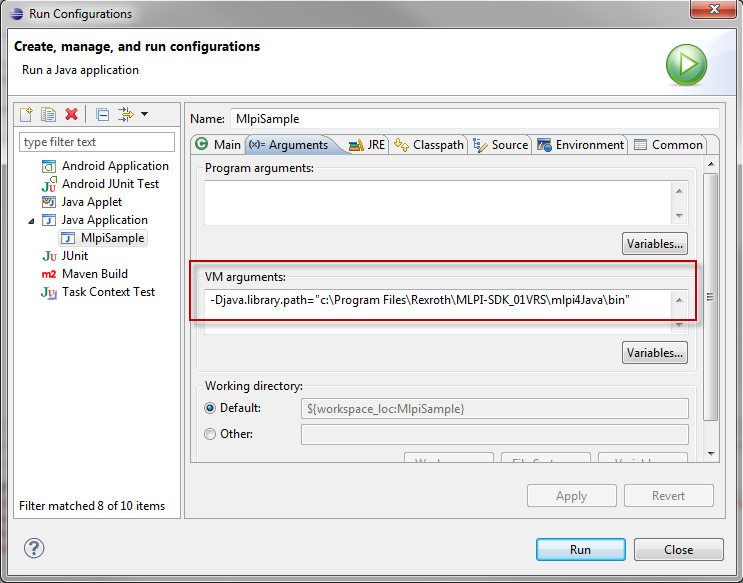
For the last step, you have to add the path of the mlpijavawin32.dll to the search path of the Java virtual machine. In Eclipse, you can do this as a Java VM argument under "Run Configurations->Java->Main->Arguments->VM Arguments:"
For example: -Djava.library.path="c:\Program Files\Rexroth\MLPI-SDK_01VRS\mlpi4Java\bin\..." Later on, when you deploy your Java application, you have to include this DLL in the same folder as your Java application. Otherwise, or if you path is not correct, you will get UnsatisfiedLinkerErrors.
Click "Run" to start your application. Happy coding...

