 |
 |
MLPI-MotionLogicProgrammingInterface(mlpiCore)
1.26.2
|
To run your application as a real-time application on a control, you need to use the Wind River Workbench 3.3. This is because the firmware of the control is based on the VxWorks real-time operating system by Wind River. The development environment is not free, and can be bought either as full version from Wind River itself or as dedicated version for Bosch Rexroth application development (Workbench OEM) from Bosch Rexroth.
There are two different setup routines (WBOEM33_63, WBOEM33_69) available because at this time; Bosch Rexroth targets use two different releases of the real-time operating system Wind River VxWorks (release 6.3, release 6.9). Regarding your target, please install at least the required release of the development environment.
| Target | Version | Wind River VxWorks release | Installation | Build spec |
|---|---|---|---|---|
| IndraMotion MLC XM2 | 14VRS | 6.9 | WBOEM33_69 | ATOMgnu / ATOMgnu_RTP |
| IndraMotion MLC XM4 | 14VRS | 6.9 | WBOEM33_69 | NEHALEMgnu_SMP |
| IndraMotion MLC VPx | 14VRS | 6.9 | WBOEM33_69 | PENTIUM4gnu_SMP |
| IndraMotion MLC CML75 | 14VRS | 6.9 | WBOEM33_69 | ATOMgnu_SMP |
| IndraMotion MLC CML65 | 14VRS | 6.3 | WBOEM33_63 | PENTIUMgnu |
| IndraMotion MLC CML45 | 14VRS | 6.3 | WBOEM33_63 | PENTIUMgnu |
| IndraMotion MLC CML25 | 14VRS | 6.3 | WBOEM33_63 | SH7750gnule |
| IndraMotion XLC CML75 | 14VRS | 6.9 | WBOEM33_69 | ATOMgnu_SMP |
| IndraMotion XLC CML65 | 14VRS | 6.3 | WBOEM33_63 | PENTIUMgnu |
| IndraMotion XLC CML45 | 14VRS | 6.3 | WBOEM33_63 | PENTIUMgnu |
| IndraMotion XLC CML25 | 14VRS | 6.3 | WBOEM33_63 | SH7750gnule |
Learn how to set up a simple Workbench project which runs on a VxWorks real-time operating system and is able to connect to a MLPI device using MLPI function calls.
For the Wind River Workbench OEM an Eclipse plug-in of the MLPI SDK help is available. This plug-in has to be separately downloaded from the Open Core Engineering Network. The plug-in is located at the SDK download area within the section "Add-on packages". Please store the plug-in into a reusable directory (e.g. "C:\Users\john_doe\Downloads"), so you can use this folder also for an update installation.
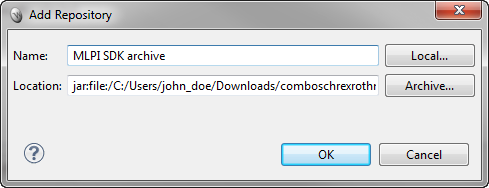
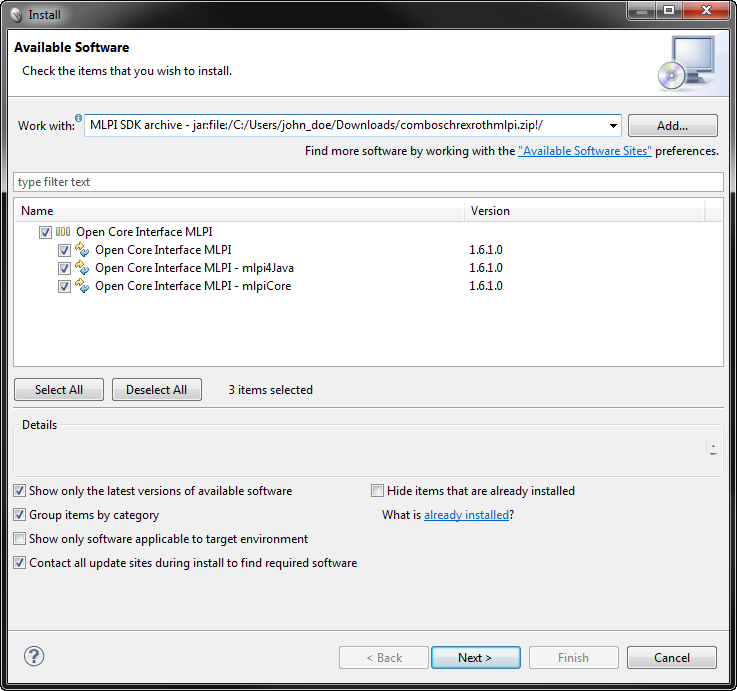
To install the Eclipse plug-in of the MLPI SDK help into your Wind River Workbench OEM, please select from the "Help" menu of your Wind River WorkBench OEM the entry "Install New Software..." and add the plug-in package from your directory as a new "Archive..." repository.
"Install New Software..." isn't available within the "Help" menu please switch your current perspective via "Window->Open Perspective" to "Advanced Device Development".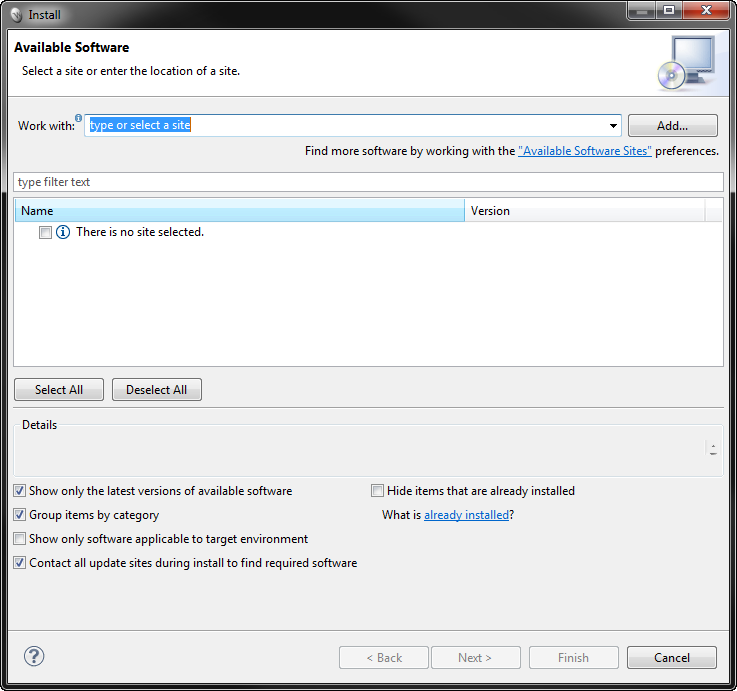
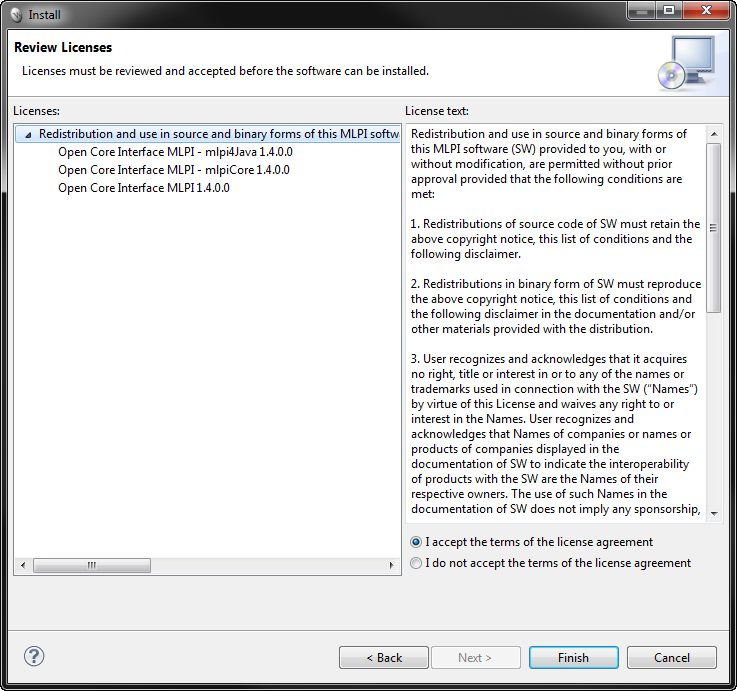
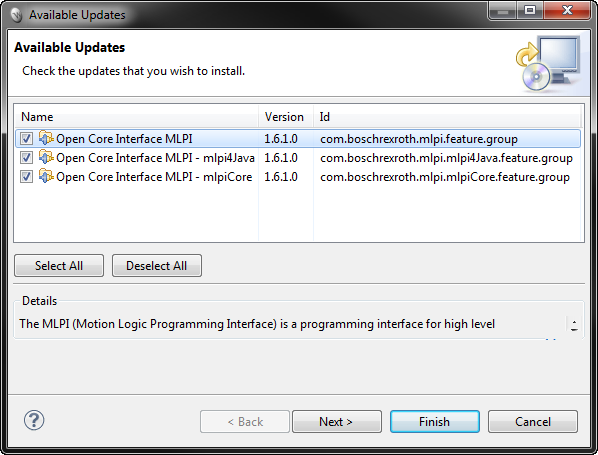
Please accept the license agreements and confirm the installation with "Finish".
After a restart of your Wind River Workbench OEM the MLPI SDK help is available within the help content.

You can easily update the Eclipse plug-in of the MLPI SDK help by replacing the old plug-in package by a new one and calling of "Check for Updates" within your Wind River Workbench OEM.
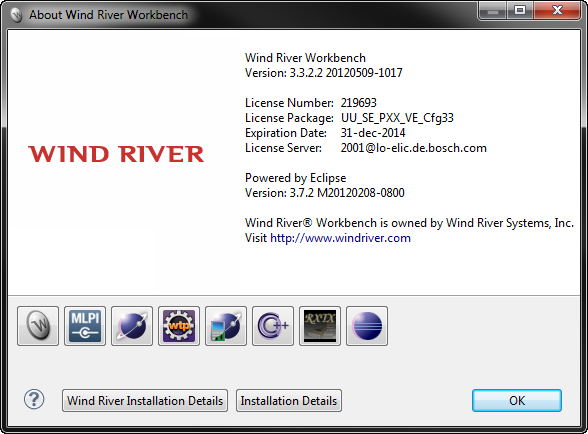
You can get information about the plug-in by selecting "About Wind River Workbench" and pressing the MLPI SDK icon.
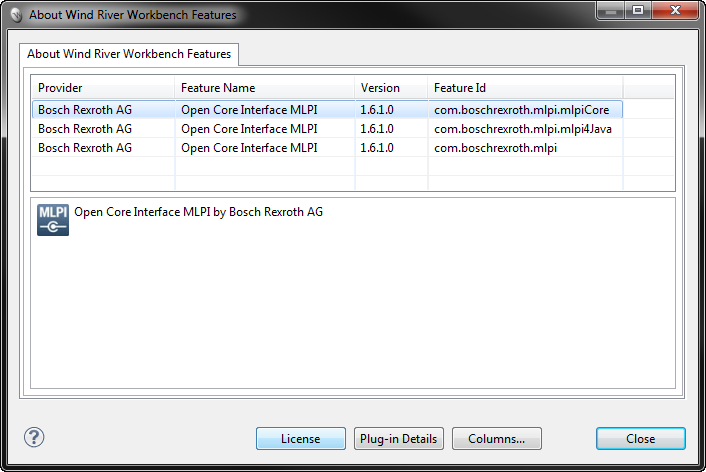
You can also uninstall the plug-in by selecting all regarding plug-in modules within "About Wind River Workbench", "Installation Details" (see above).
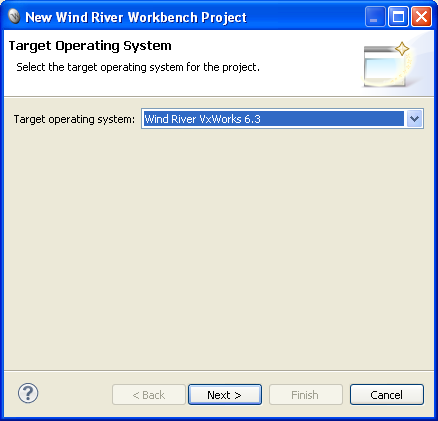
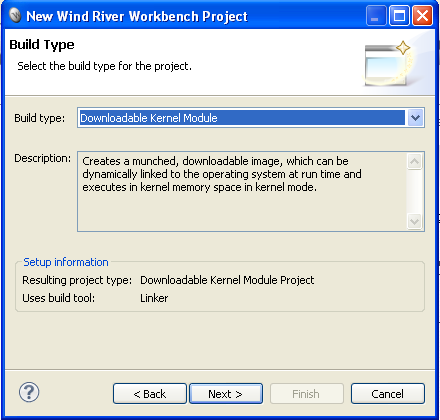
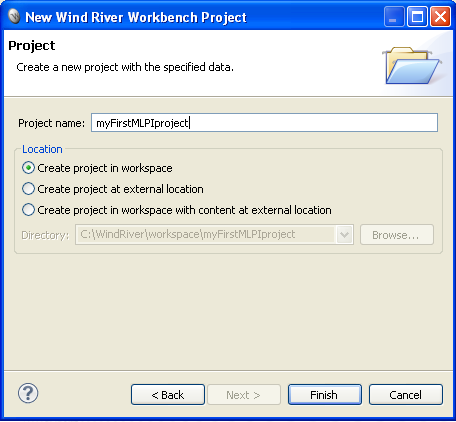
Start Workbench 3.3 and create a new project.
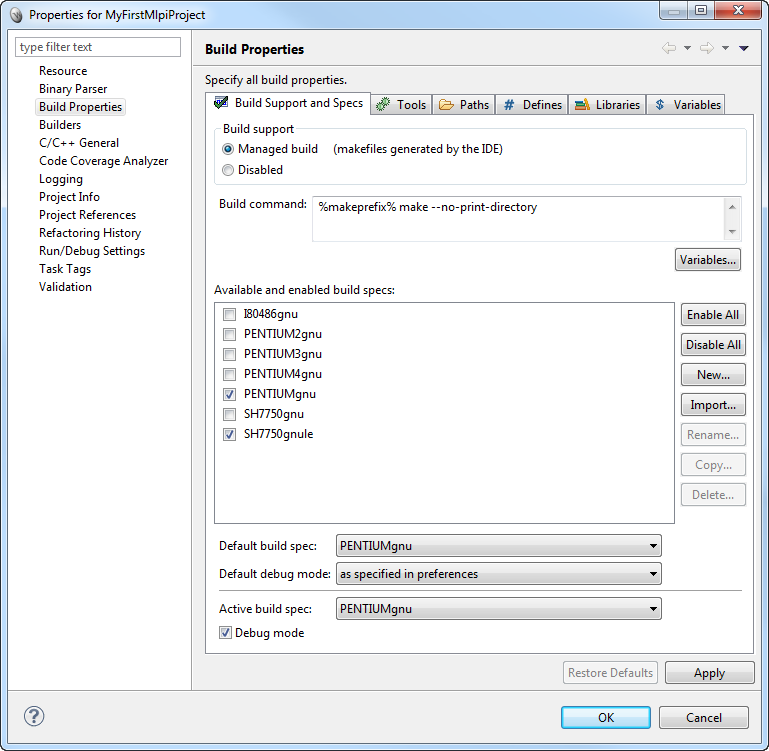
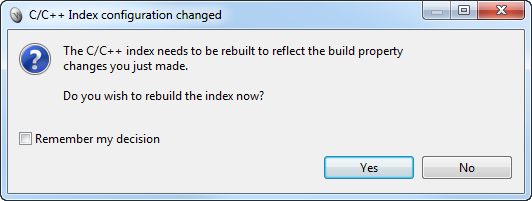
After creating a new project, at first you should reduce the available build specs. When right-clicking your project, please select the "Properties" and switch to the "Build Properties". On tab "Build Support and Specs", you can delete (or disable) all unneeded build specs. The table shows the required build specs. Please apply your selection and confirm the rebuilt request of the C/C++ index with "Yes".

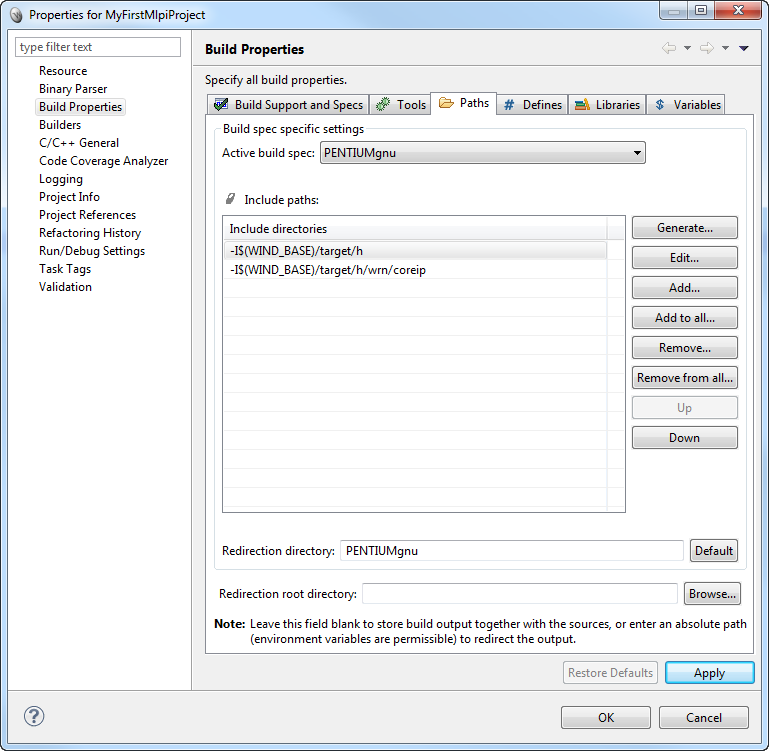
Now you have to set the include paths of your MLPI-SDK installation for the compiler. Otherwise, you get errors during the build process for your project. You will do this by switching to the "Paths" tab of the "Build Properties". At this time, there should be existing already two default paths:
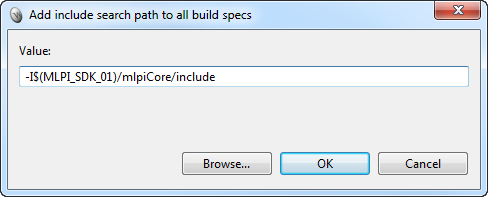
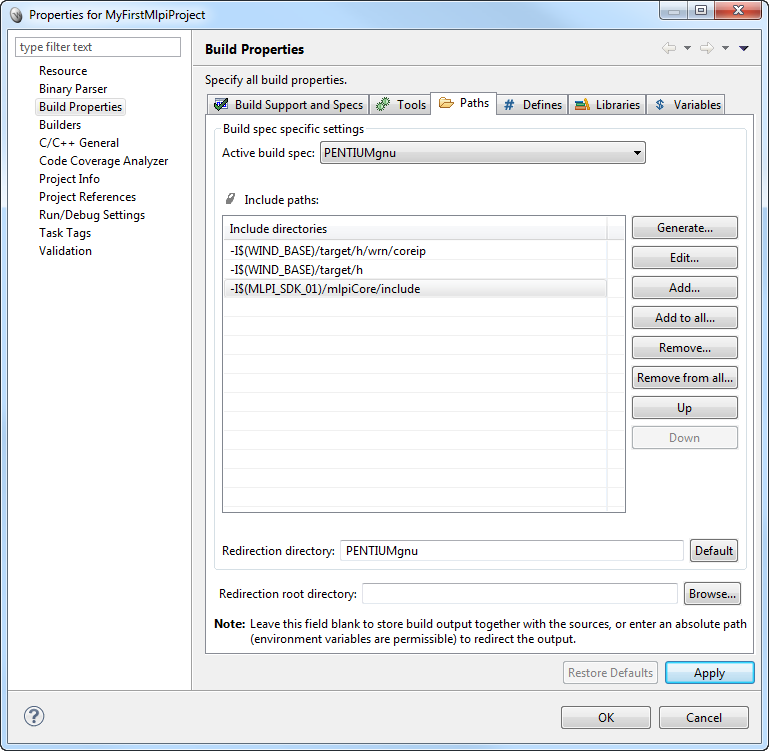
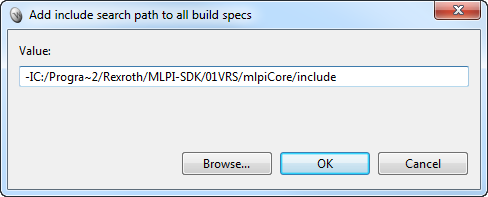
Add the include search path for mlpiCore header files to all targets by pressing the button "Add to all...". By default, you will find the header files of the MLPI-SDK in the following folder:
The installation of the MLPI SDK automatically sets up the new system environment variable "MLPI_SDK_01" which can be used within the include search path settings.
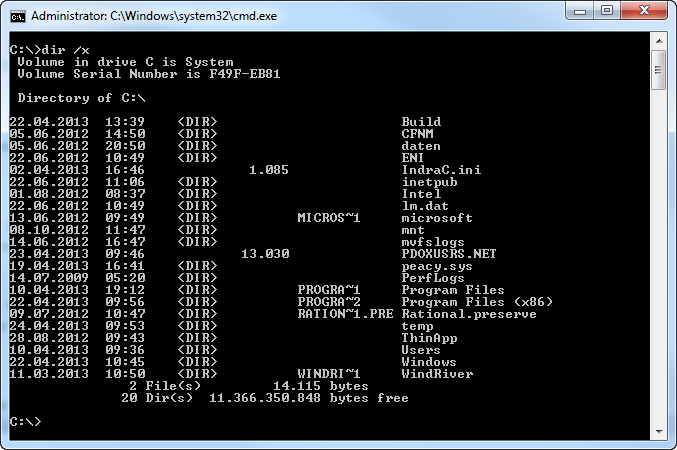
If you are interested, you can find the environment variable mapping in the "Advanced System Settings" of the Windows Control Panel in the dialog "System->Advanced System Settings->Advanced->Environment Variables".
Finally press "Apply" and "OK" to complete the setup of your project.
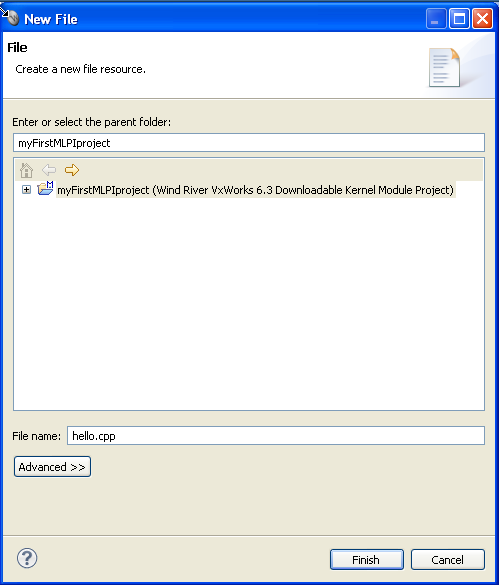
MLPI_LOCALHOST within the argument "connectionIdentifier" or via TCP/IP by using an IP address within the same argument.MLPI_LOCALHOST will be executing very fast as direct calls without using the TCP stack.Please start your project by creating your first *.cpp file from menu by selecting "File->New->File".
At first you have to include all needed MLPI headers, e.g.:
Now you are able to use MLPI functions. Here is some example code showing how to connect to an MLPI device and how to read the current firmware version.
Build or rebuild your project by selecting the green colored "Build Targets" in the project explorer view and executing the command "Build->Build Project" or "Build->Rebuild Project".
To transfer the compiled project into a control, a target connection is required. The following steps show how to create a new target connection to a control.
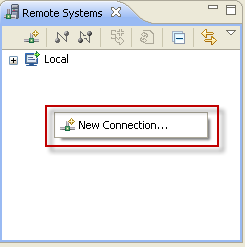
Choose "New Connection..." from the context menu at the view "Remote Systems".
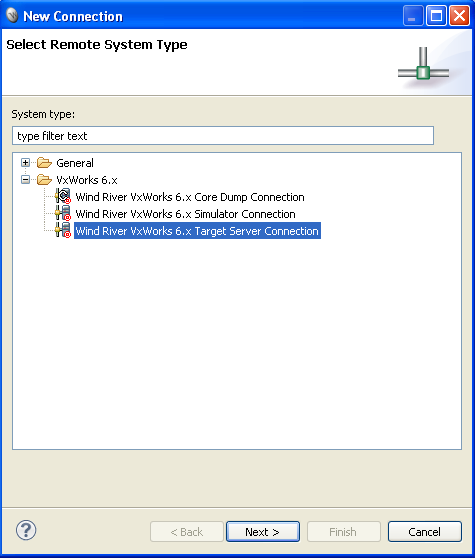
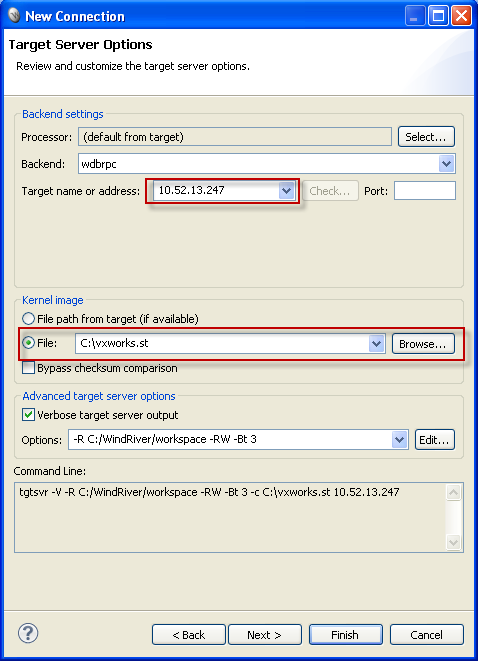
Select "Wind River VxWorks 6.x Target Server Connection".
Set IP address of control and the path of the actual VxWorks Kernel Image (vxworks.st) of the current firmware-release.
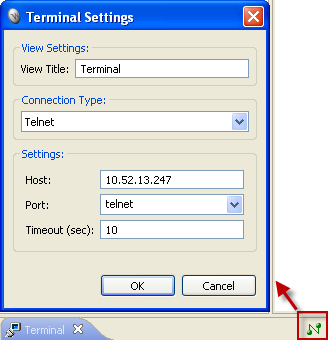
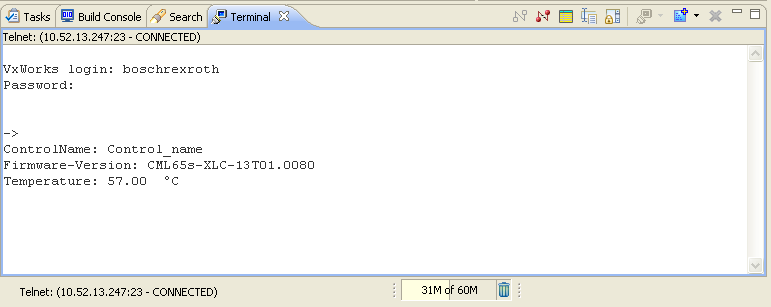
For testing and monitoring the sample project, you can use a terminal session via telnet. Connect the terminal to control with user "boschrexroth" and password "boschrexroth".
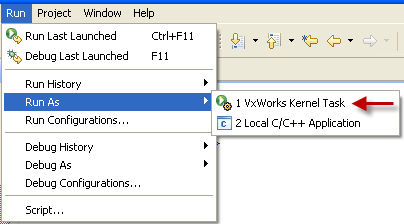
To run the project, select "Run->Run As->VxWorks Kernel Task".
If you are not connected now, do this in the current dialog. Connect to a VxWorks target server and enter "helloMLPI" as "Entry Point" in "General". It is also possible to use the "browse" button to search for the "helloMLPI" function using the user interface. At "Advanced", set the task priority above 100 and the stack size above 0x200000.
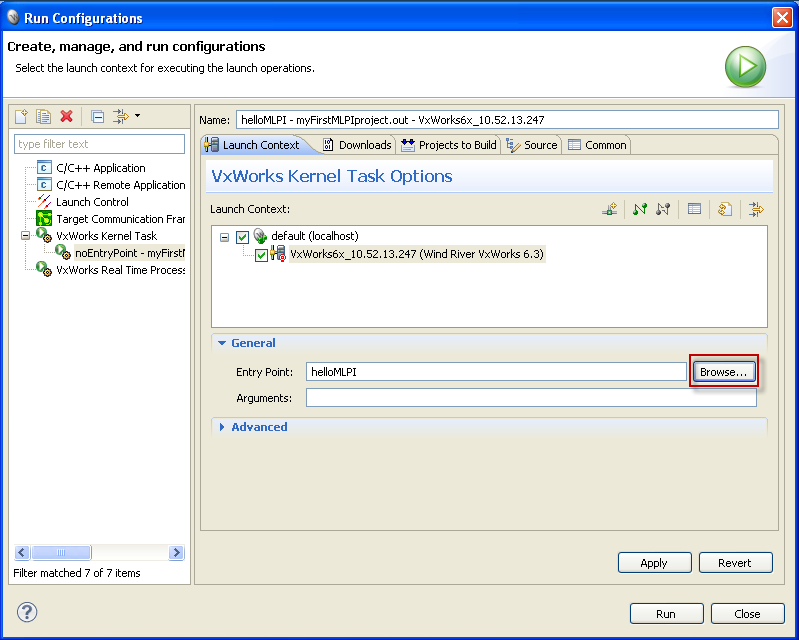
If floating point operations are used in the project (e.g. read temperature in sample project), it is required to set the checkbox "VX_FP_TASK" in "Advanced Options".
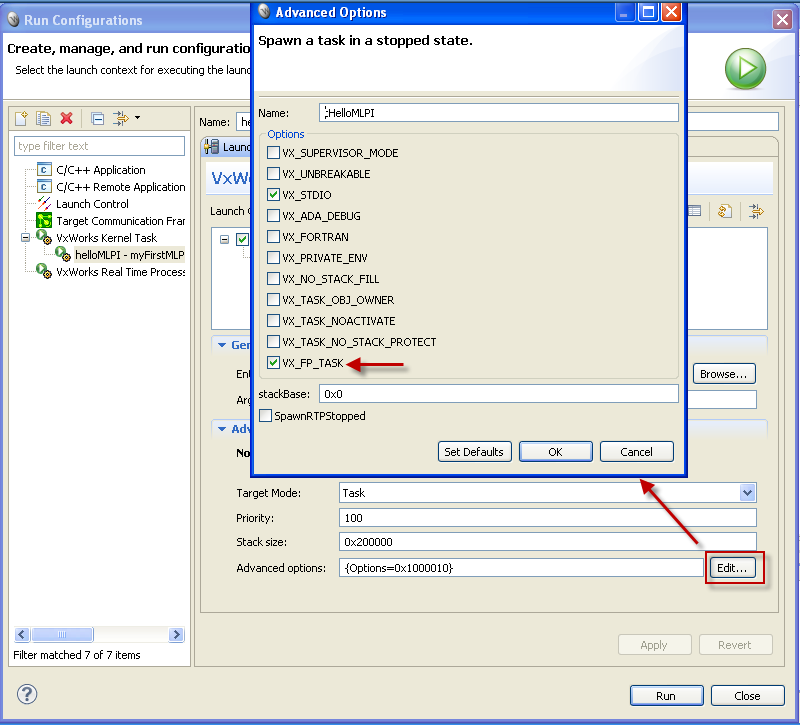
Click "Apply" and "Run", to start your project as a task in the control. Now you should see the name of control, the current firmware version and the current temperature in the terminal window.
Congratulations! Your first realtime-mlpi-project is running on the control.
This is a known problem (Wind River defect WIND00243042). If the Partial Image Linker/Linker/Librarian command line has too many object files to be linked, the command line length limit will be exceeded. This limit is imposed by the Windows system. As a workaround, you can dump your list of object files into a control file and use the @ option with your list in your command line.
Specifically here are the changes to the command line:
echo %Objects% > objects.lst;-o %OutFile% %Objects% to -o %OutFile% @objects.lst&& rm objects.lstHere is a typical Partial Image Linker command line if the GNU compiler is used:
Change to:

