 |
 |
MLPI-MotionLogicProgrammingInterface(mlpi4LabVIEW)
1.26.2
|
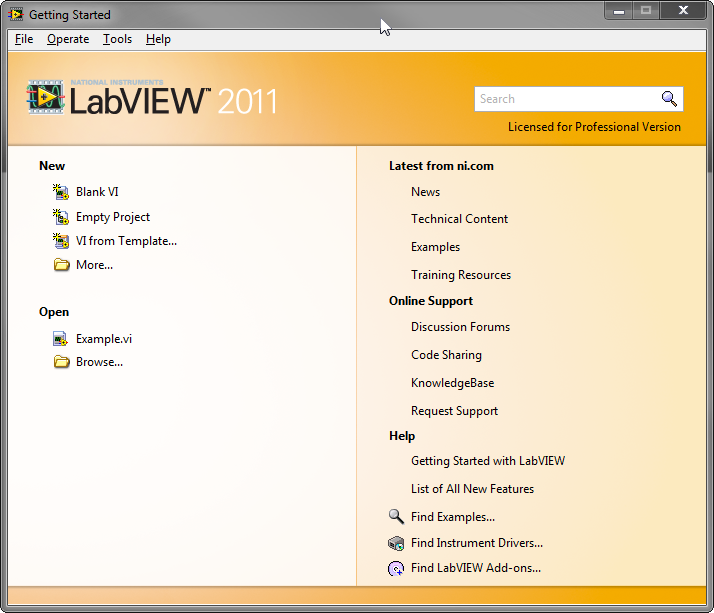
We recommend using National Instruments LabVIEW 2011 for MLPI application development on Microsoft Windows platform. You can download the trial version under http://www.ni.com/trylabview/.
Learn how to set up a simple National Instruments LabVIEW project which runs on Microsoft Windows and is able to connect to an MLPI device using the mlpi4LabVIEW toolbox. All MLPI function calls are tunneled through TCP/IP over an Ethernet connection to the control. Please keep in mind that hard real-time from your application to the control is not possible with this setup.
Start National Instruments LabVIEW 2011 and create a new virtual instrument (VI) via "New->Empty VI".
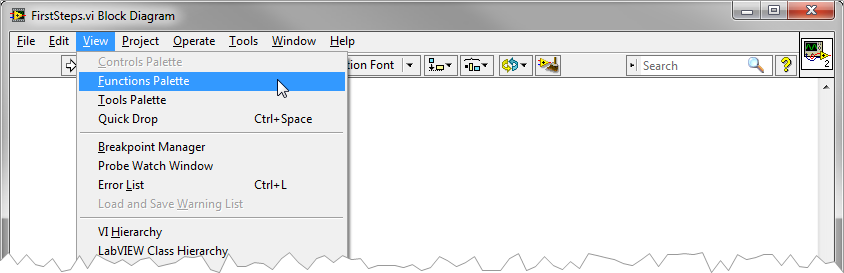
Since the mlpi4LabVIEW VIs are a part of the functions palette, you have to open it on the "block diagram" via "View->Functions Palette". On it you can also find functions for arithmetic operations, loops and much more which are necessary for the logic in a VI. On the "front panel" you can open the element palette in the same way.
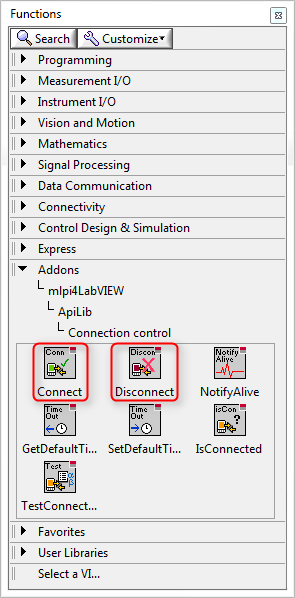
Now you have to add the VIs "Connect (mlpiApiConnect.vi)" and "Disconnect (mlpiApiDisconnect.vi)" to your block diagram, because they are essential for all mlpi4LabVIEW projects. To do this please go to "Function->Addons->mlpi4LabVIEW->ApiLib->Connection control->Connect (mlpiApiConnect.vi)". The "Disconnect (mlpiApiDisconnect.vi)" VI for disconnecting is located beside.
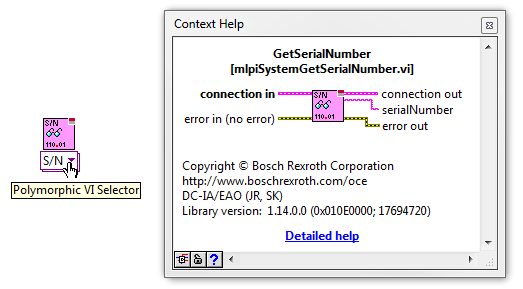
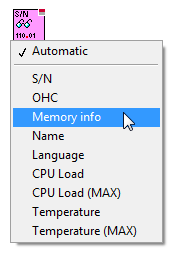
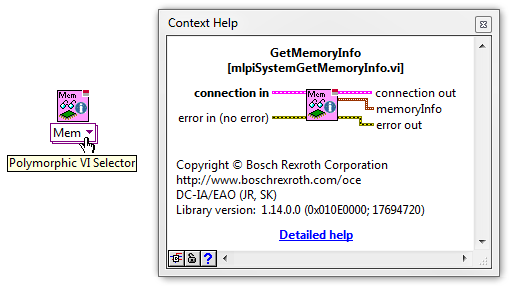
In the next step, you have to add one or more VIs from the mlpi4LabVIEW toolbox about a function you are interested in. For now, it's GetMemoryInfo (mlpiSystemGetMemoryInfo.vi) from the SystemLib. The wished VI is part of the polymorphic VI "GetProperty (mlpiSystemGetProperty.vi)".
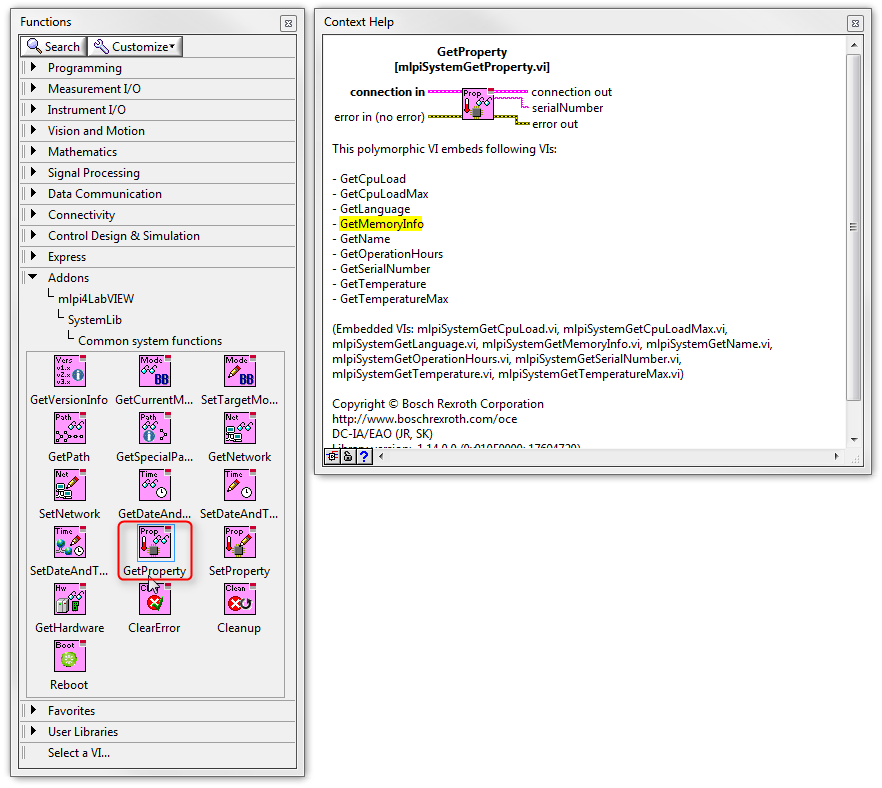
Because within the polymorphic VIs are also other VIs included, you have to selected the wished functionality by the "Polymorphic VI Selector".
Now you have to wire the "connection" terminals by using "connect wire" from the tools palette which you can find under "View->Tools Palette". Furthermore you have to add a control element or constant to the "address" input terminal of the Connect (mlpiApiConnect.vi) VI because it's also a required input.
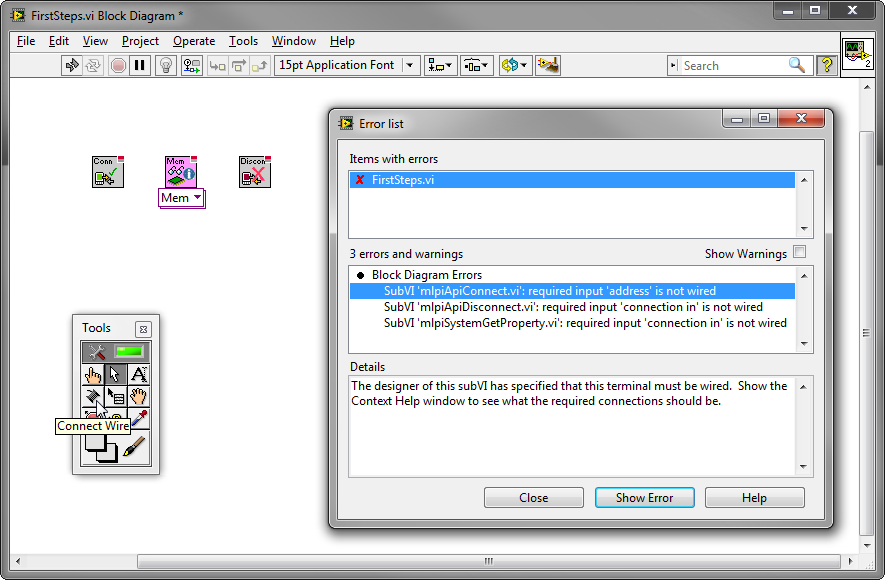
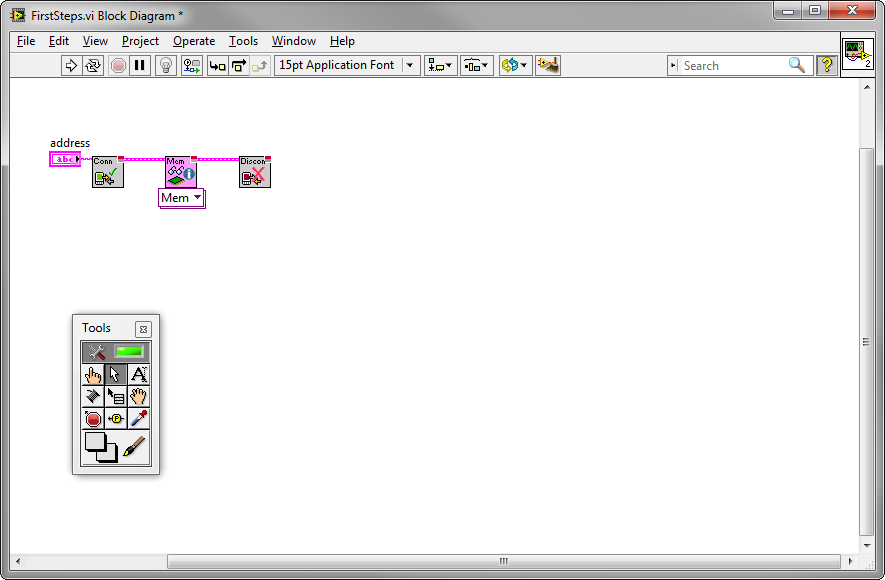
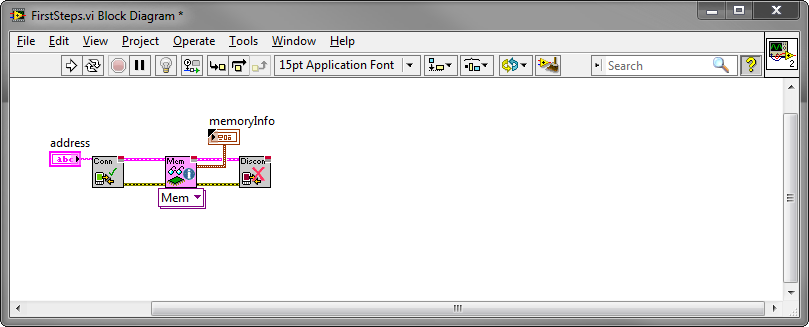
Now, add all other recommended or optional elements like output "memoryInfo" and error terminals no matter if it's an input or output. At the end, your "block diagram" should look like that:
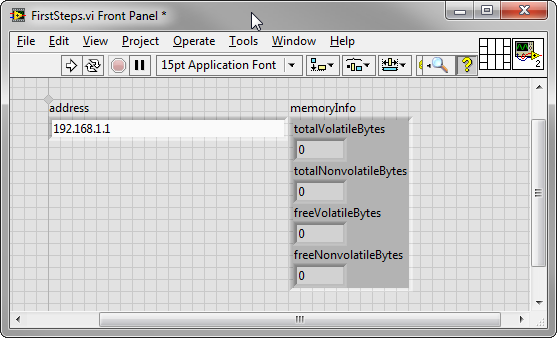
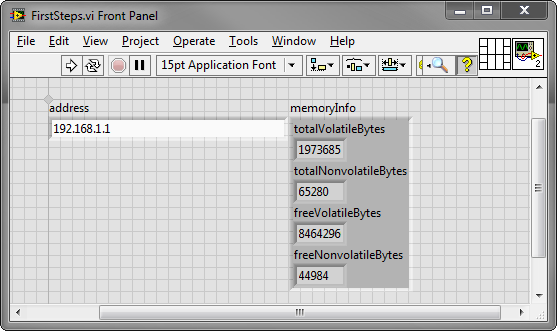
Switch to the "front panel" and modify the input form if needed. In our case, it looks like that:
Finally, you should be able to execute the project by clicking the "Run" button.
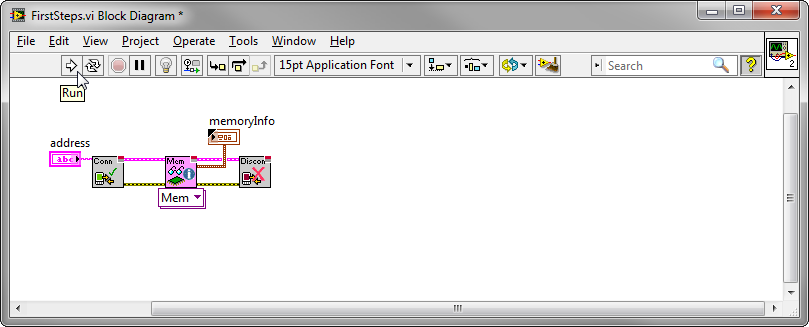
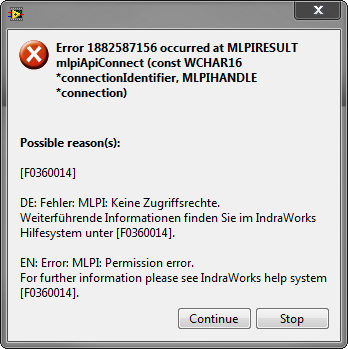
Most of the fails causes by wrong IP addresses (fixe it on front panel) or missing permission rights (use user and password inputs and/or modify your accounts on the control) please fixe the problem and try again.

After successfully executing the output form should be filled with values.
With this procedure, you should be able to create your own easy LabVIEW project using the mlpi4LabVIEW.

